GutenKit Post Grid block allows you to display your posts in a visually appealing grid layout. It provides a variety of customization options, including the number of columns, the size of the images, and the amount of spacing between the posts.
In this documentation, you’ll learn to use GutenKit Page Grid block. Let’s start!
How can you use post grid block? #
Adgang til dit WordPress dashboard –
- Find Sider/indlæg > Tilføj ny side/indlæg eller begynd at redigere en eksisterende side med blokeditoren.
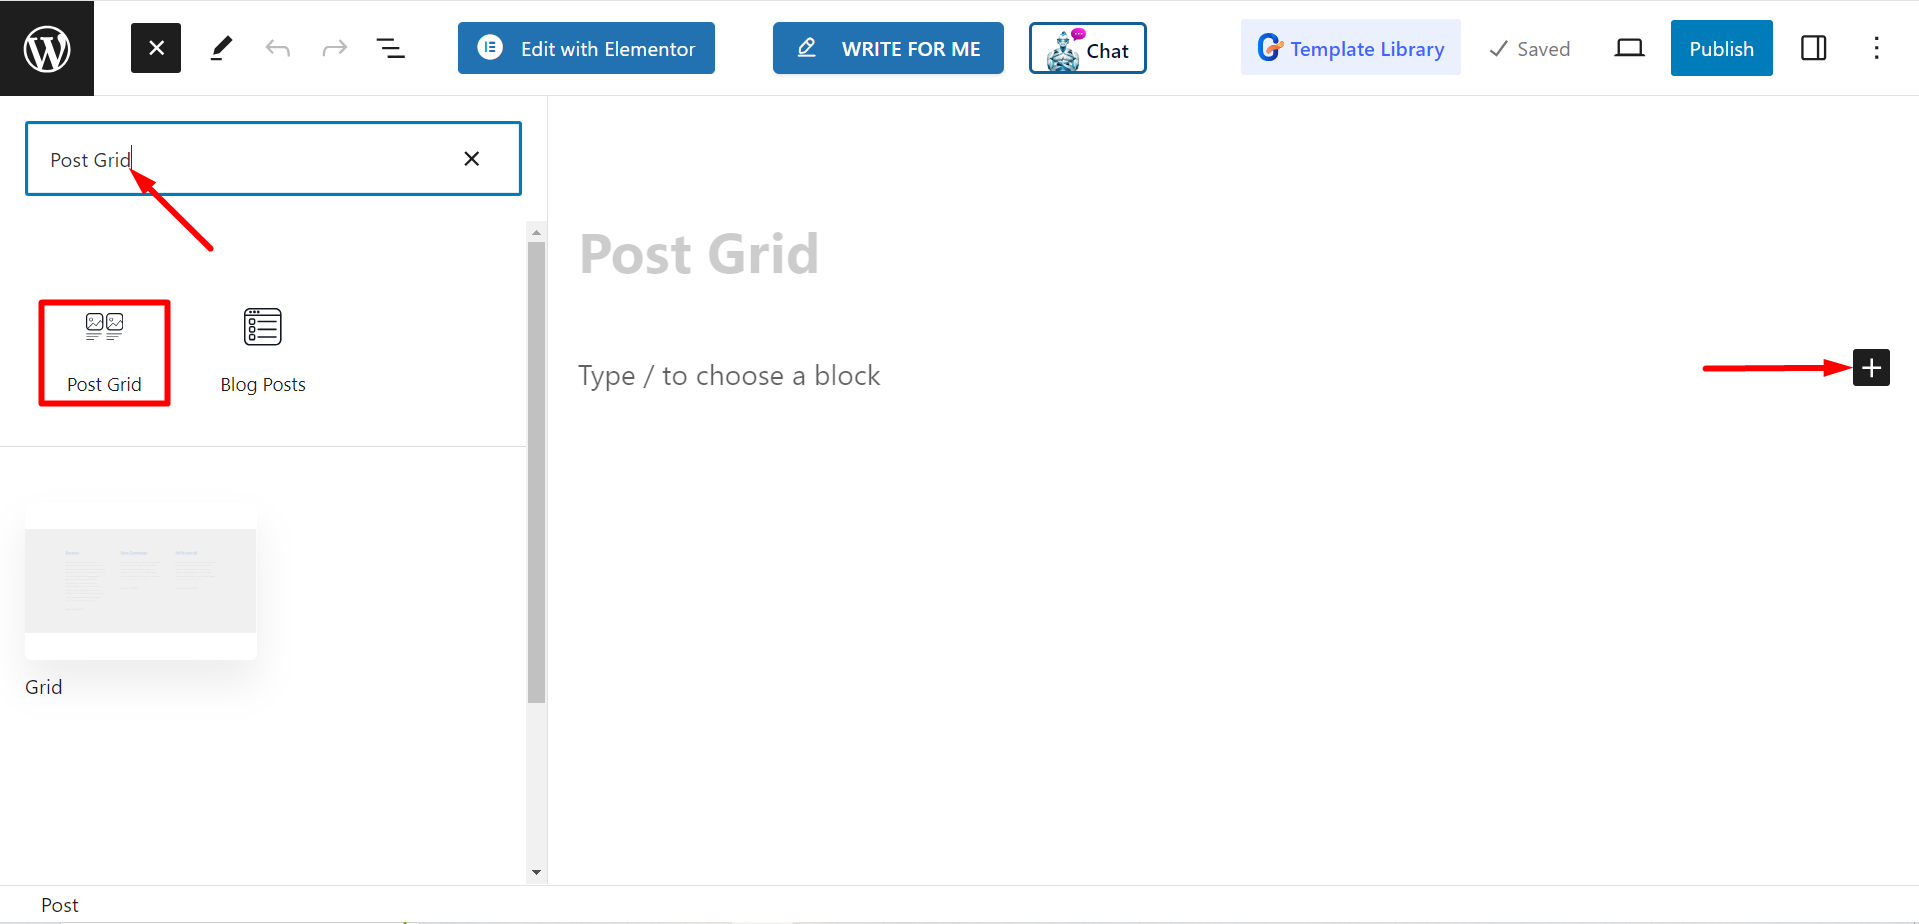
- Se efter "+”-ikonet i højre side eller øverst på redigeringsskærmen. Klik på den.
- En blokmenu vises, søg efter "Post Grid”.
- Når du ser det, skal du klikke på det eller trække og slippe det på blokredigeringsskærmen.

Redigering af indholdsdelen #
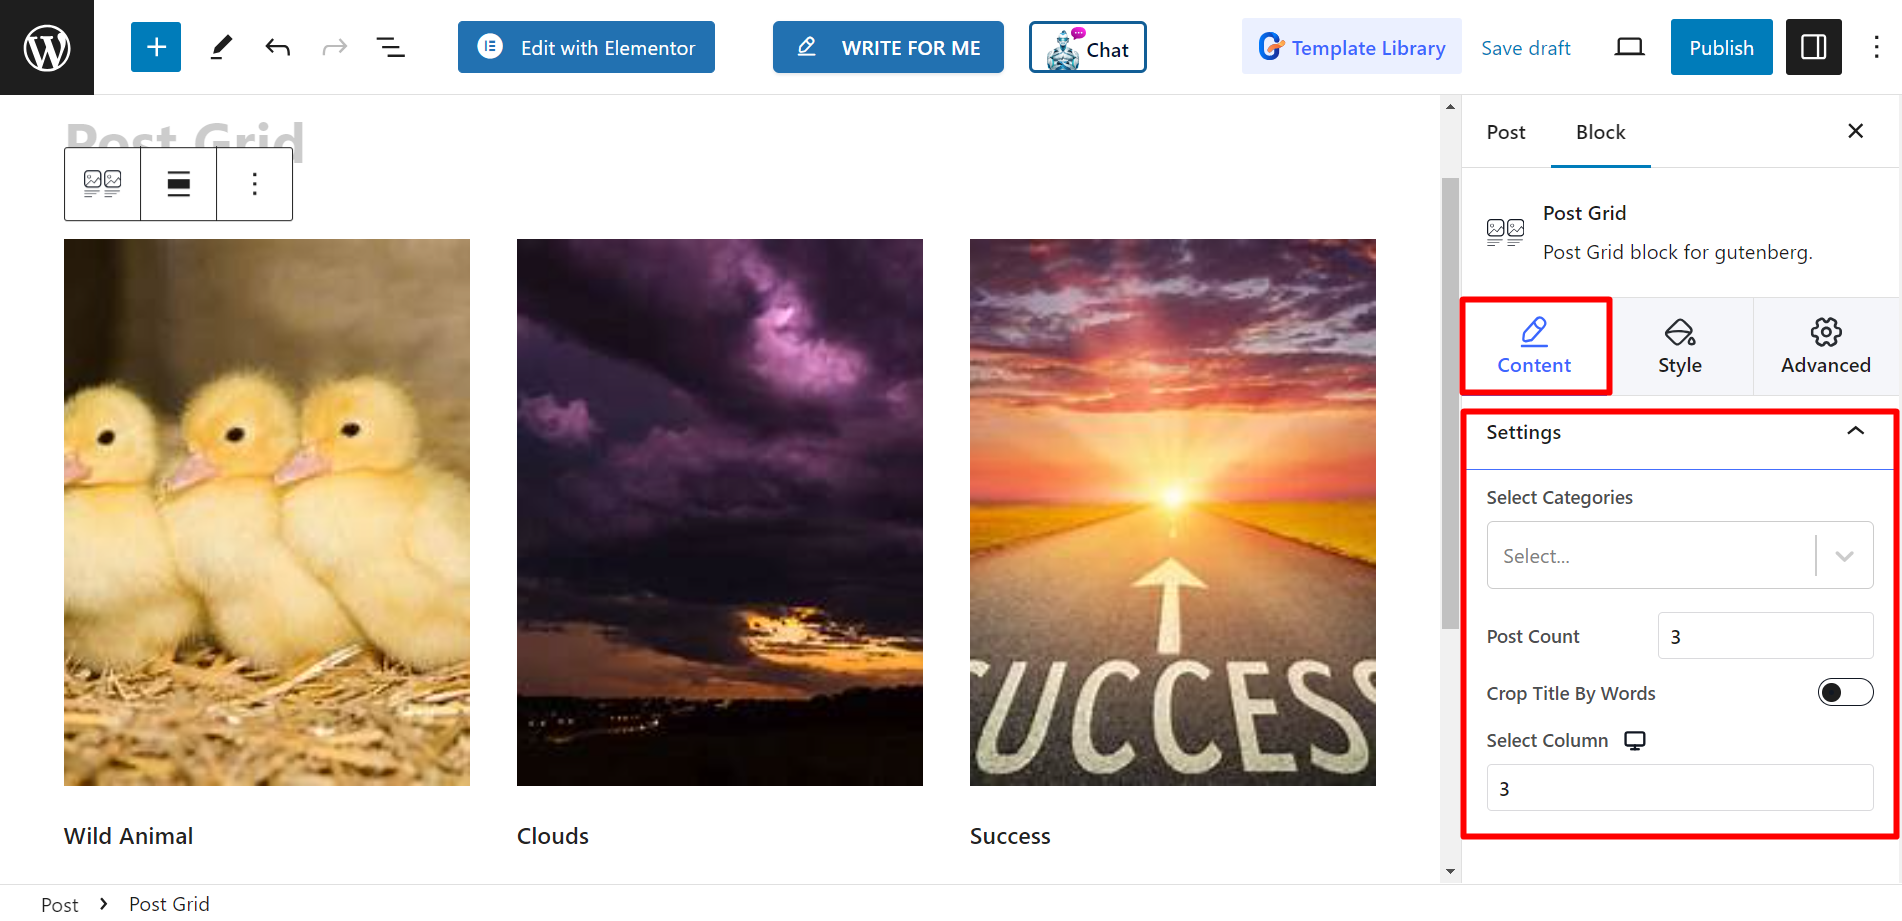
From the settings section, you will see –
- Select Categories : You can select the post categories from here.
- Post Count : Here, you can set the number of the posts, that you want to display.
- Crop Title By Words : If needed, you can keep short post titles. If you turn ON the button, it will allow you to adjust the number of words you want to crop.
- Select Column : With this option, you can set the column number.

Stil #
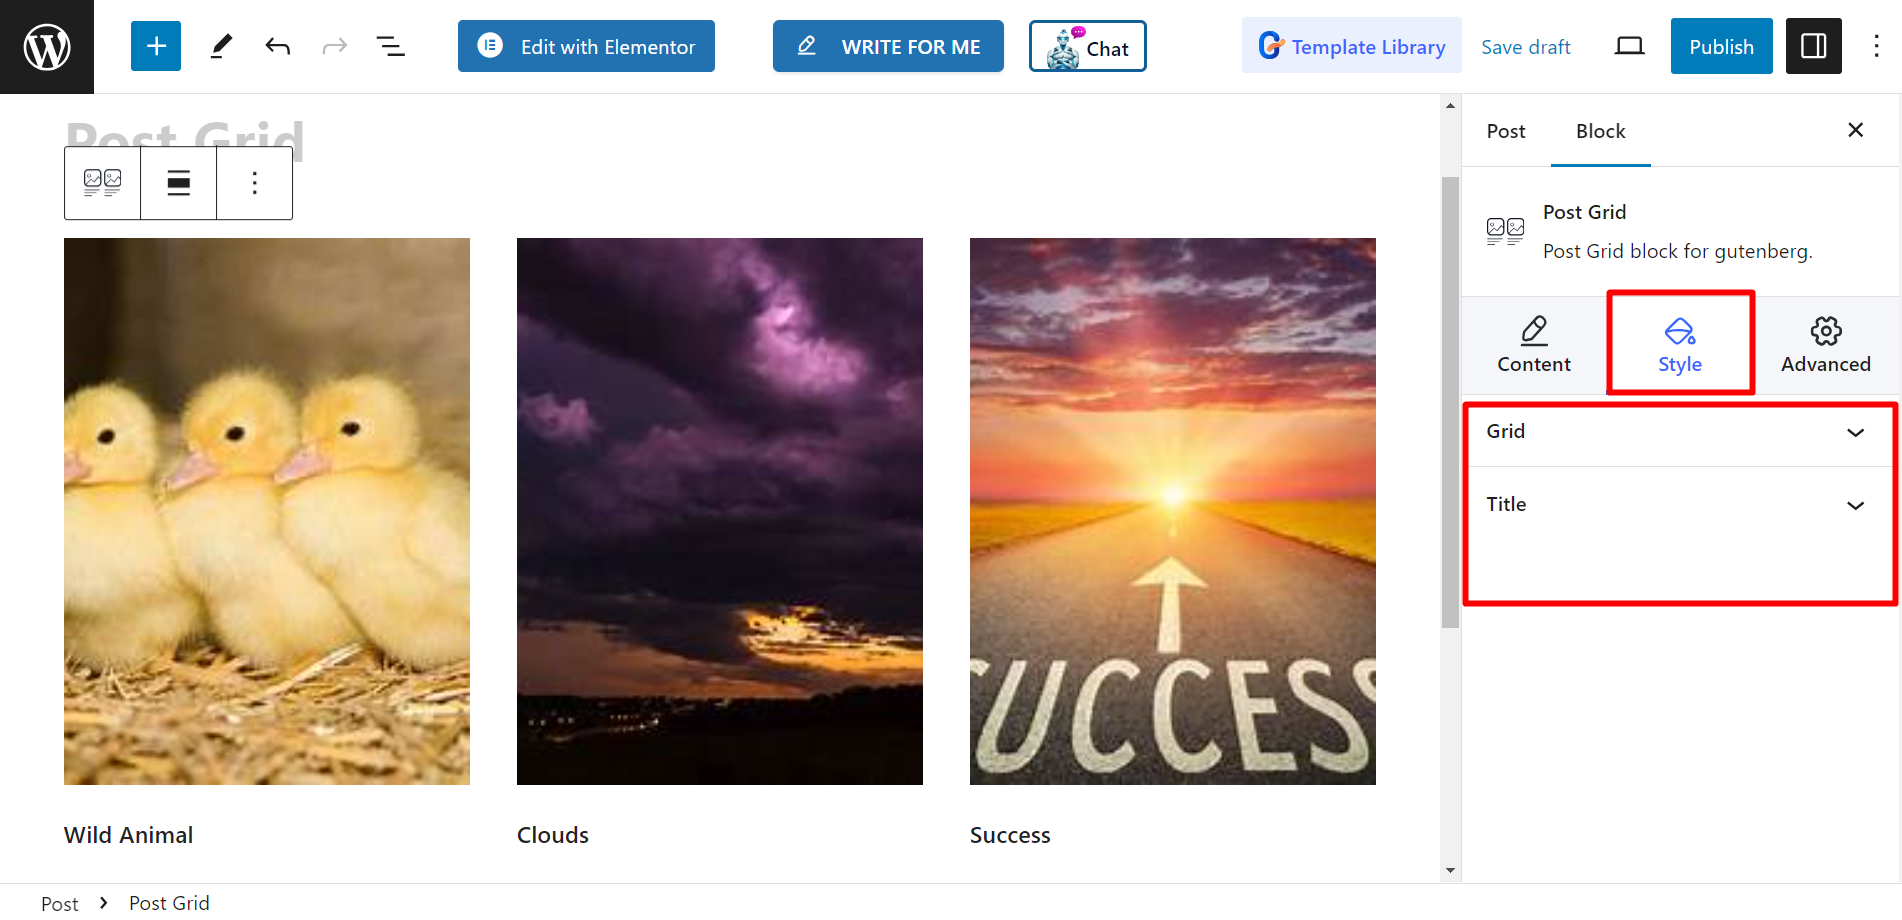
Grid – You’ll find the height and gap bars here and adjust them accordingly.
Titel – The styling options are Typography, Color, Hover Color, and MARGIN.

Now complete these steps, and style your post grid according to your preferences.


