


Using a WordPress plugin is the easiest way to create a slide-in popup. It lets you design, control, and publish popups without writing any code.
However, Slide-in popups help to grow email lists or showing offers easily. Unlike modal popups that cover the screen, a slide-in popup smoothly appears from the corner or side of the screen. They’re simple to build and quick to set up.
In this blog post, we’ll present clean and easy steps to create slide-in popups.
Lad os dykke ind.
Quick Overview
To create a slide-in popup in WordPress, you can use PopupKit. This WordPress plugin assists you to create slide-in popups that smoothly appear from the corner or side of the screen without affecting your main content.
Quick Steps for Creating a Slide-in Popup:
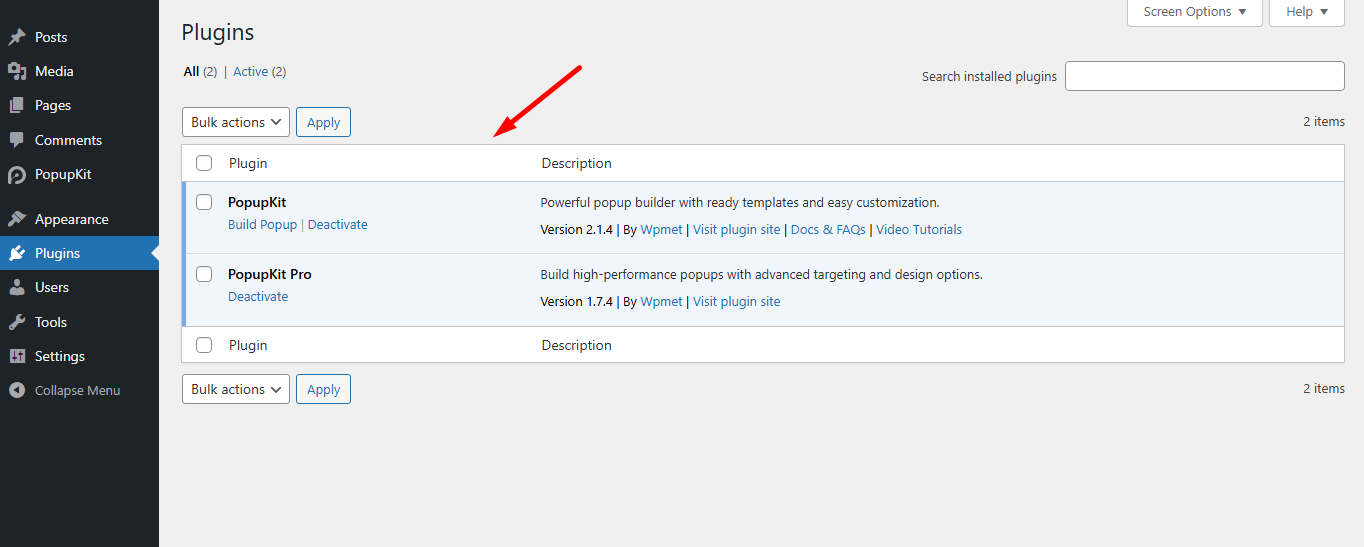
✅ Install Plugin: Install and activate the PopupKit plugin from your WordPress dashboard.
✅ Create Campaign: Gå til PopupKit > Add New and open the Popup Builder.
✅ Design Popup: Drag and drop blocks (Advanced Image, Heading, Button, etc.) or import a template to design your slide-in popup.
✅ Select Campaign Type: Open Display Options and choose Slide-In as the campaign type.
✅ Publish: Save the settings and publish the popup to make it live on your site.
What is a Slide-in Popup & Why Choose it?
Slide-in means something moves into view from the side or edge of the screen. A slide-in popup is a small lead-capture form.
For example, a box might slide in from the bottom-right corner, bottom-left corner, or side of the page. It is also known as a flyout or corner box.
Reasons to choose slide-in popups
- Non-intrusive design: Slide-in popups don’t block your main content. They appear smoothly while visitors are already engaged with the page.
- Better contextual engagement: You can easily match the popup offer with the specific content of the page, making it more relevant and effective.
- Mobile-friendly layout: Slide-ins fit neatly on small screens and don’t take over the entire display.
- Improved user experience: Since they’re less disruptive, visitors are more likely to interact positively, ensuring a smoother signup experience.
Where to Add Slide-in Popups? Where Not?
✅ Where to Add Slide-in Popups
- Blog posts: After a user scrolls 40–60%. They’re already reading, so engagement is higher.
- Product pages: To offer discounts, free shipping, or related products without interrupting the buying flow.
- Resource pages: Offer downloadable guides, checklists, or bonus content related to what they’re viewing.
- Exit-intent (desktop): A subtle last-chance offer before they leave.
❌ Where NOT to Add Slide-in Popups
- Immediately after page load: Feels pushy and reduces trust.
- Checkout pages: Never interrupt payment flow, that kills conversions.
- Login / account pages: Users are task-focused here, so don’t distract them.
- Pages with heavy forms: Too many elements = cognitive overload.
- Very short pages: If there’s barely content, there’s no natural moment to trigger it.
How to Create Slide-in Popups
To build slide-in popups quickly and easily, you’ll need PopupKit, -en complete WordPress popup builder. This popup builder lets you create slide-ins in minutes and comes with ready-made templates. So, to help you launch professional popups without any hassle, we recommend using it for your WordPress site.
You’ll need the PopupKit WordPress plugin. The gratis version is available for download on WordPress.org.
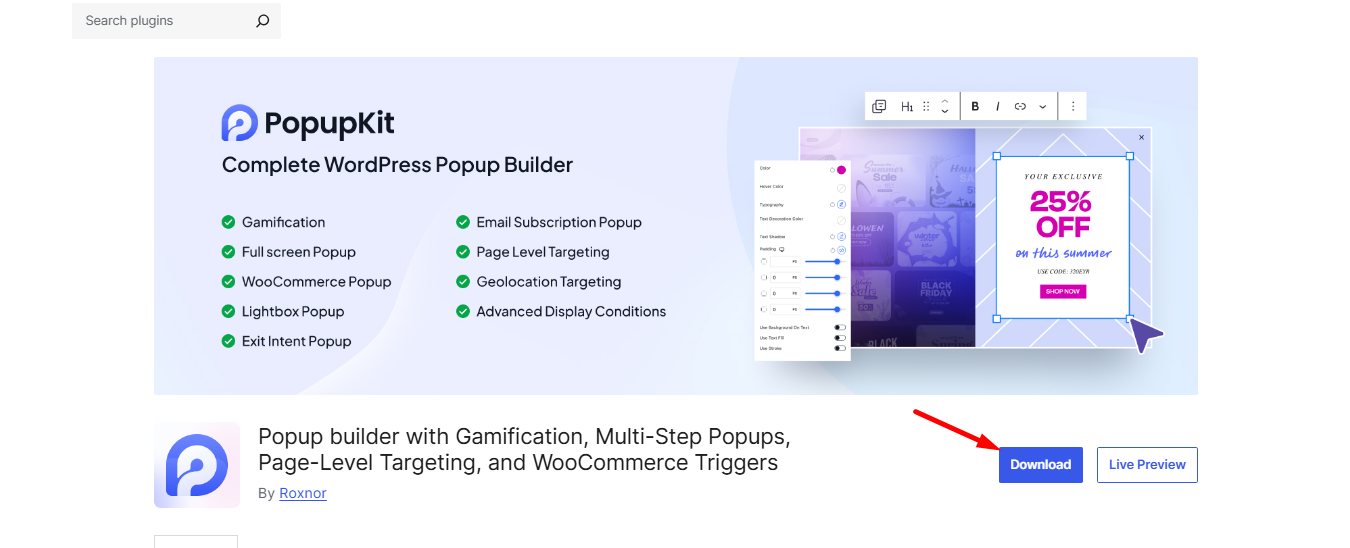
Install the plugin and ensure it is active.
Also, if you want to explore the premium features, you can find them here.
Method 1: Creating a Slide-in Popup from Scratch
PopupKit offers all the necessary blocks to build a slide-in popup from scratch.
See the example –
- We’ve used an Advanced Image block, two Button blocks, and a Overskriftsblok for the layout.
- Simply drag and drop these blocks into the popup builder editor.
The setup is quick and takes just a few minutes to complete.
Step 1: Customize the PopupKit blocks
Let’s customize the PopupKit advanced image block.
- Choose image: Select the advanced image for your slide-in popup.
- Image size: Here, you can adjust the image.
- Billedtekst: If you want to show a caption, the options are Attachment caption and Custom caption.
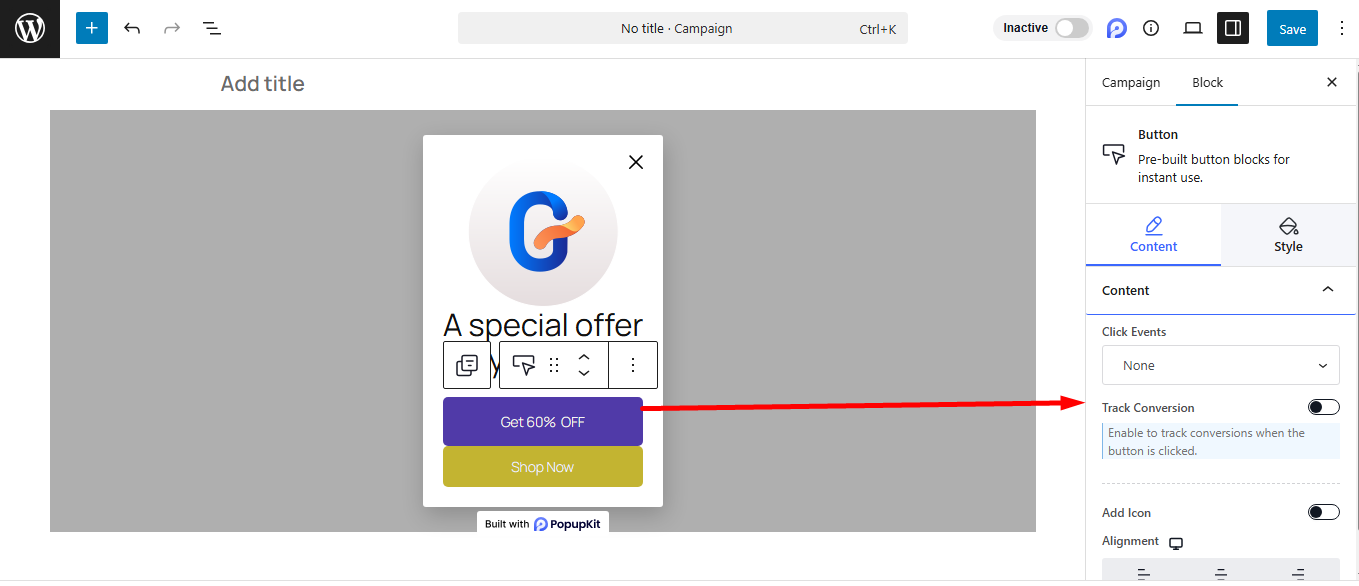
Link: Insert a link if you want to keep one. - Track Conversion: You can enable it to track conversions when the image is clicked.
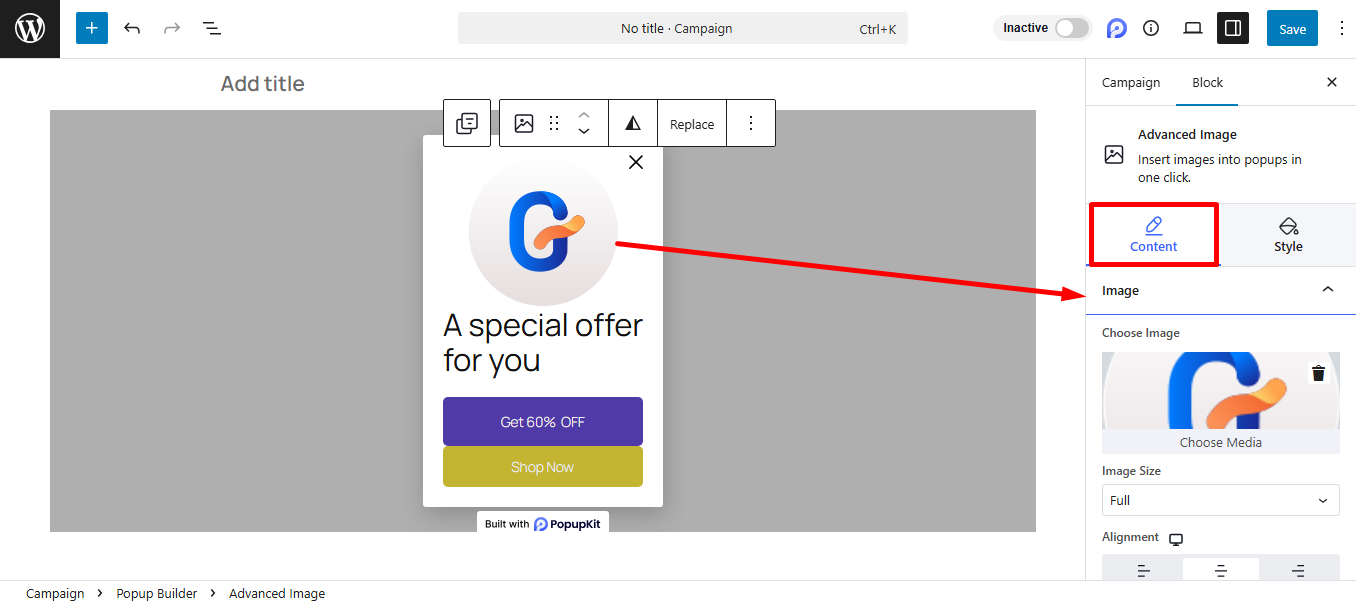
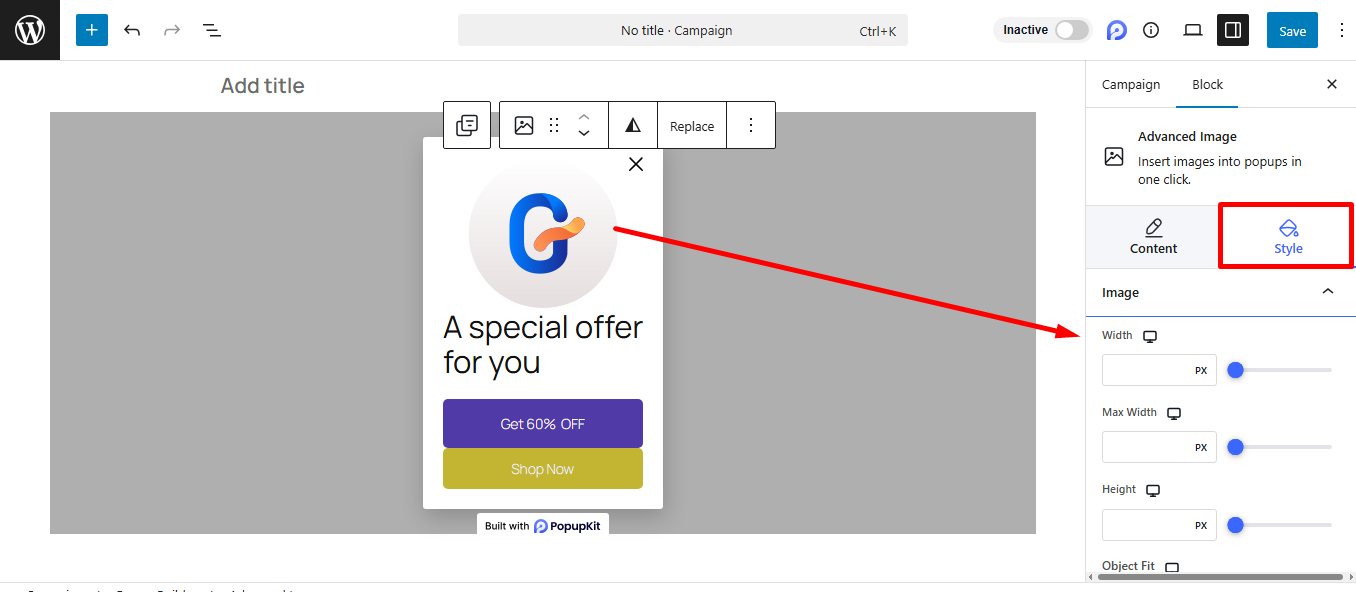
- Billede: It provides styling controls specifically for the image itself, such as width, max width, height, border, radius, etc.
- Overlejring: The Overlay section lets you apply an extra layer of color or pattern over the image. This is typically used to improve text readability or add a visual style.
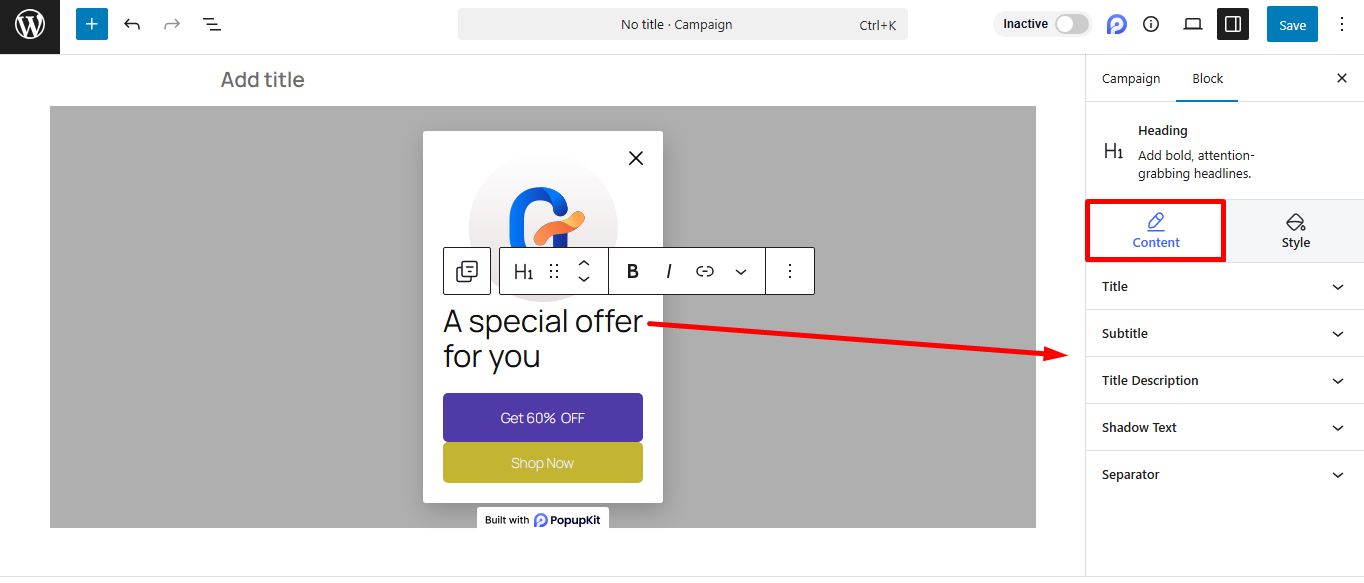
- Titel: Here you can input and edit the main text of the heading block.
- Undertekst: Offers a field to add secondary text that appears above or below the main Title.
- Titelbeskrivelse: It provides a field to add a longer body of text or a brief explanation associated with the heading.
- Skyggetekst: You can also add text that appears as a background or shadow effect behind the main title. It helps to create a dramatic visual impact.
- Separator: Enable it to insert a visual line or element to divide or emphasize the heading content.
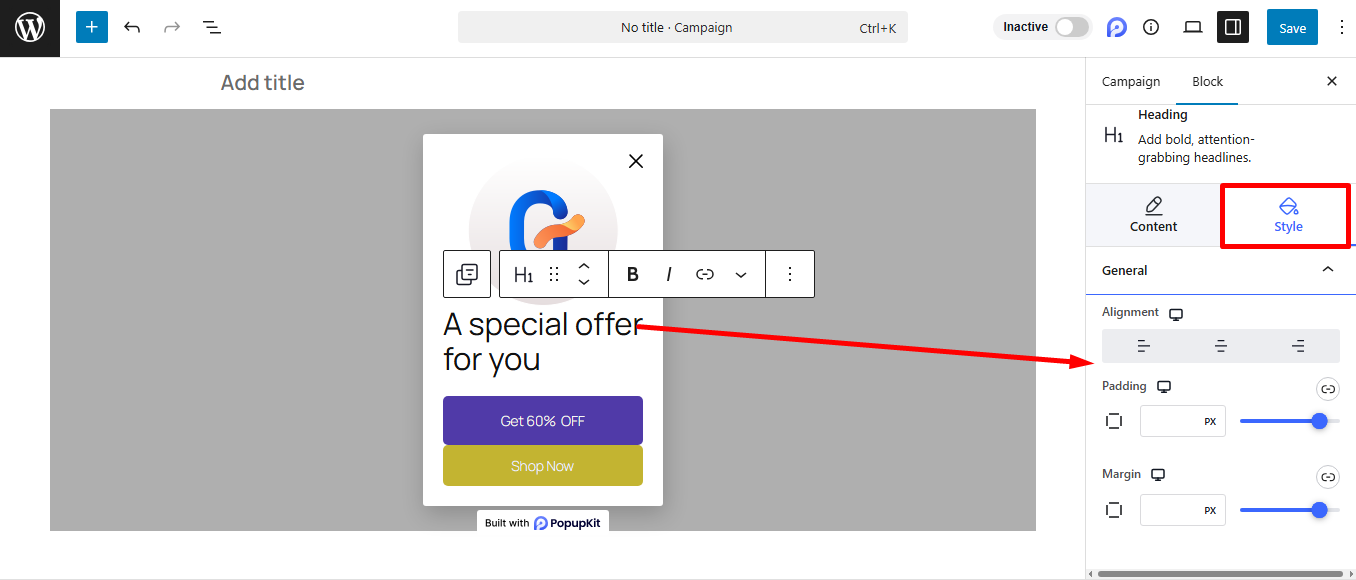
- Now, let’s see what the Heading block offers.
- Generel: It allows you to adjust the padding and margin of the block.
- Titel: To style the title, you’ll get to change color, margin, typography, etc., from this option.
- Focused Title: This is where you can change a specific part of the title text to make it stand out or be the main focus.
- Click Events: Defines the action that occurs when the button is clicked, e.g., open URL, close current campaign, download file, and cookie consent.
- Track Conversion: Enable it to track conversions when the button is clicked.
- Tilføj ikon: Here, you can add an icon to the button.
- Justering: Use it to quickly adjust the button’s position.
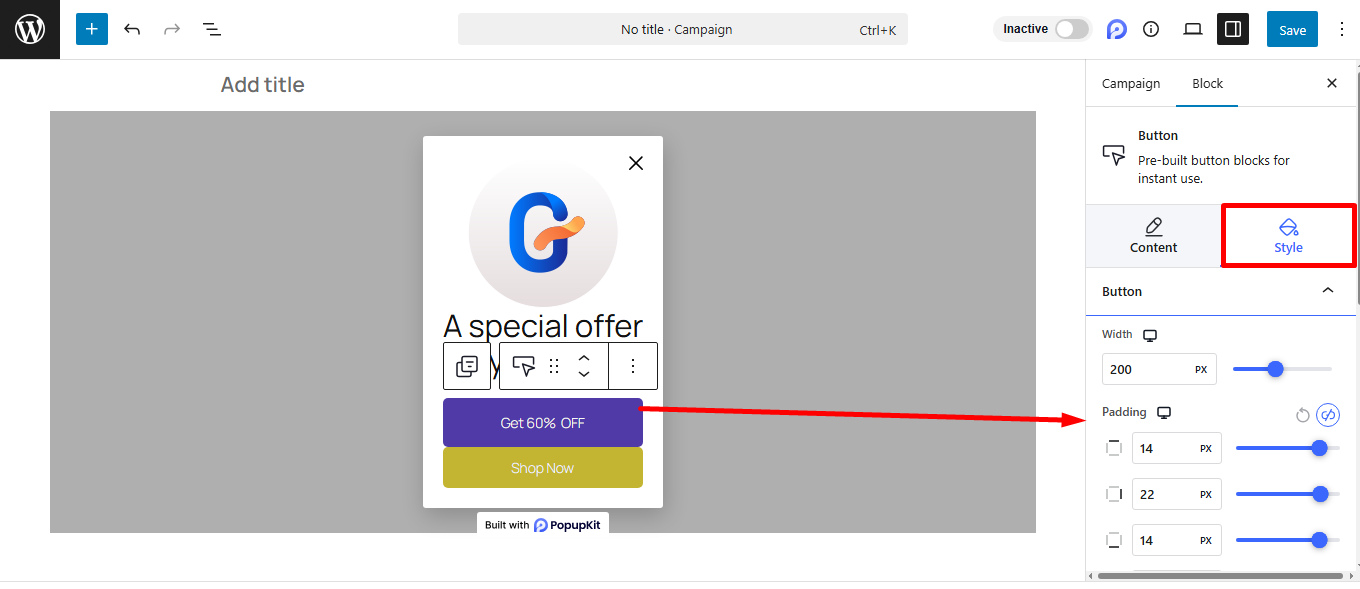
- Knap: You decide the size and spacing of the button here. It shapes how big the clickable target will be.
- Grænse: You can adjust the button’s border and border radius here.
- Shadow: Apply this to make your button float right off the page. It adds depth, making the button look immediately pressable.
Step 2: Make the popup slide-in
So after designing your popup, it’s time to select the campaign type and make it a slide-in. Click on the Popup Builder to expand the Display Options. Then, select the Slide-In option and view the popup. See, you’re done!
Method 2: Creating a Slide-in Popup
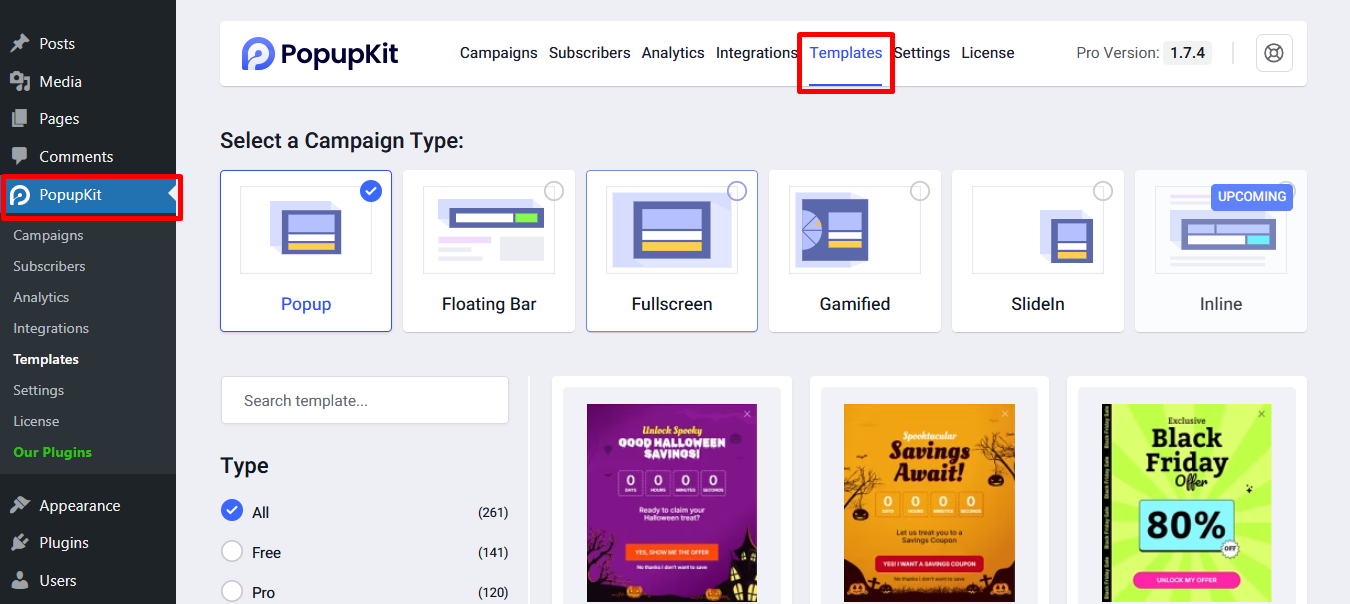
Step 1: Choose From Templates
- From your WordPress dashboard, go to PopupKit
- Select the Templates tab
Step 2: Customize & Publish the Slide-in Popup
You can easily preview the popup designs and import your chosen one.
In the editor –
- You’ll find all the customization options we discussed in Method 1
- Style your slide-in popup based on your preferences and publish it
That’s a quick and neat way to build your slide-in popup.
Ways to Measure the Performance of Slide-in Popup
- Conversion Rate: Track how many visitors complete the desired action (signup, click, download) after seeing the popup.
- Click-Through Rate (CTR): Measure how many users click on the popup button or link.
- Impressions vs. Conversions: Compare how often the popup is displayed versus how many conversions it generates.
- Bounce Rate Impact: Monitor whether the popup increases page exits.
- A/B Testing Results: Test different designs, positions, or offers to see which performs better.
Common Slide-in Popup Mistakes to Avoid
- Triggering too early: Showing the popup immediately after page load feels pushy.
- Poor targeting: Displaying irrelevant offers reduces engagement.
- Overloading with content: Too much text or too many elements can overwhelm users.
- No clear CTA: If the action isn’t obvious, users won’t convert.
- Missing close button: Always make it easy to dismiss the popup.
Ofte stillede spørgsmål
Slide-ins are less intrusive and maintain a smoother browsing experience. This makes them ideal for subtle engagement.
Yes, they are mobile-friendly and fit well on smaller screens without blocking content.
It’s best to trigger it after a user scrolls a certain percentage or shows exit intent.
Yes, most popup builder plugins allow you to choose positions like right, left, top, bottom, etc.
For example, If you select Popup Builder in PopupKit, you can change the position from the Stil fanen under Beholder mulighed.
Summing Up
We’ve provided two clear paths to integrate effective slide-in popups. Follow whichever one you find easy and start creating!
For best results:
- Test positions like bottom-right or bottom-left.
- Ensure your offer delivers real value.
- Always include a clear, easy-to-click close button (“X”).
Slide-in popups are most effective when paired with thoughtful timing, strong offers, and continuous optimization. PopupKit makes the technical setup simple.
Skriv et svar